| Exercise Details | Basic Workspace Creation |
|---|---|
| Locality | Melbourne, Australia |
| Data | Waste Collection (Esri Shapefile) |
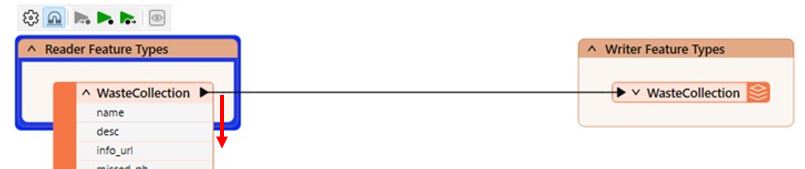
| Overall Goal | Create a workspace to translate waste collection data in Shapefile format to GeoJSON (Geographic JavaScript Object Notation) |
| Demonstrates | Basic workspace creation with FME Workbench |
| Start Workspace | None |
| End Workspace | C:\FMETraining\Workspaces\FormBasics-Ex2-Complete.fmw |
| Parameter | Value |
|---|---|
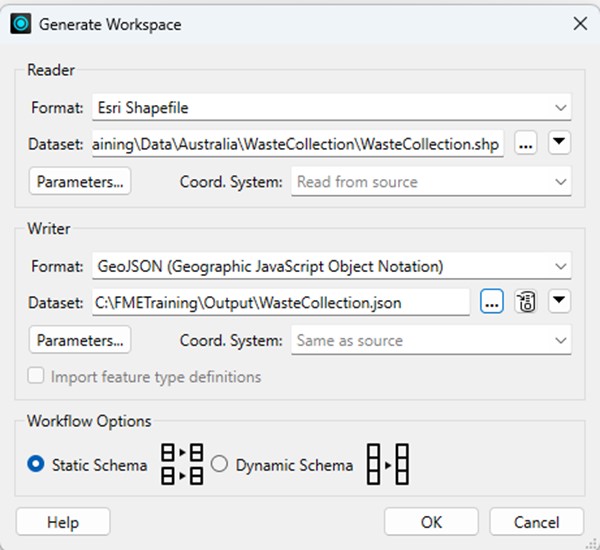
| Reader Format | Esri Shapefile |
| Reader Dataset | C:\FMETraining\Data\Australia\WasteCollection\WasteCollection.shp |
| Writer Format | GeoJSON (Geographic JavaScript Object Notation) |
| Writer Dataset | C:\FMETraining\Output\WasteCollection.json |